Handstand Push-Up
The Handstand Push-Up is an advanced bodyweight exercise that targets the upper body, particularly the shoulders and triceps. It is a compound movement that requires significant strength, balance, and coordination. Performing this exercise not only builds muscle but also enhances your core stability and overall body control. Handstand Push-Ups are popular in calisthenics, CrossFit, and gymnastics due to their ability to develop explosive strength and muscle endurance.
Targeted Muscle Groups

Primary Muscles:
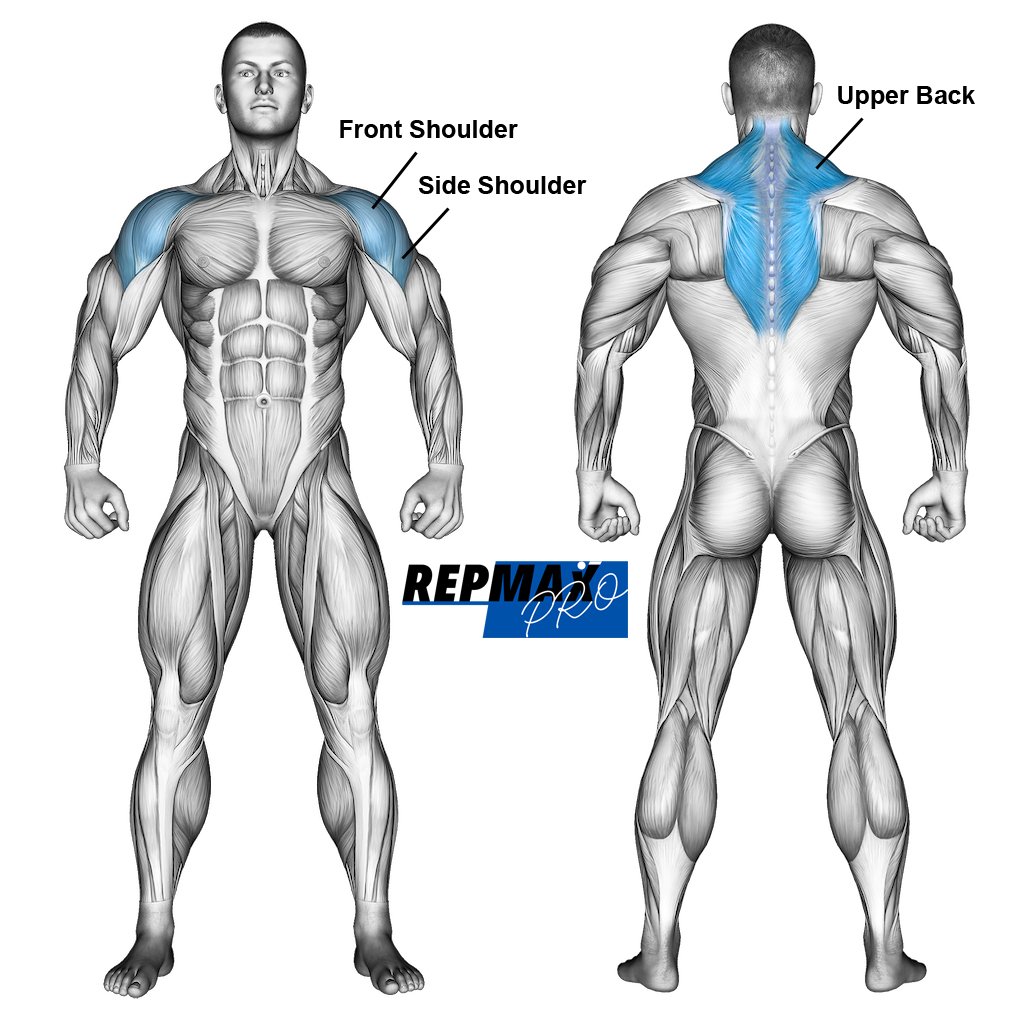
- Deltoids: The main muscles worked during the Handstand Push-Up are the deltoids, particularly the anterior (front) and lateral (side) heads. These muscles are responsible for raising the arms and stabilizing the shoulder joint.
Secondary Muscles:
- Triceps Brachii: The triceps are heavily engaged as they extend the elbow to push your body up from the handstand position.
- Upper Pectorals: The upper part of the chest works alongside the deltoids and triceps to press the body upward.
- Trapezius: The traps assist in stabilizing the shoulders and supporting the upward movement.
- Core Muscles: The abdominals, obliques, and lower back muscles are crucial for maintaining balance and stability throughout the movement.
Equipment Needed
- Wall (Optional): For beginners or those working on balance, a wall can be used for support. This provides a stable surface to perform the handstand against and minimizes the risk of falling.
- Gym Mat: A mat is recommended to protect your head and hands, especially if performing the exercise indoors or on a hard surface.
How to Perform the Handstand Push-Up: Step-by-Step Guide
1. Setup:
- Start by positioning yourself in front of a wall if you’re using one for support. Place your hands shoulder-width apart on the floor, about 6 inches away from the wall.
- Kick up into a handstand position, using the wall for balance if needed. If you’re performing freestanding handstand push-ups, ensure you have a firm grip on the ground and engage your core for stability.

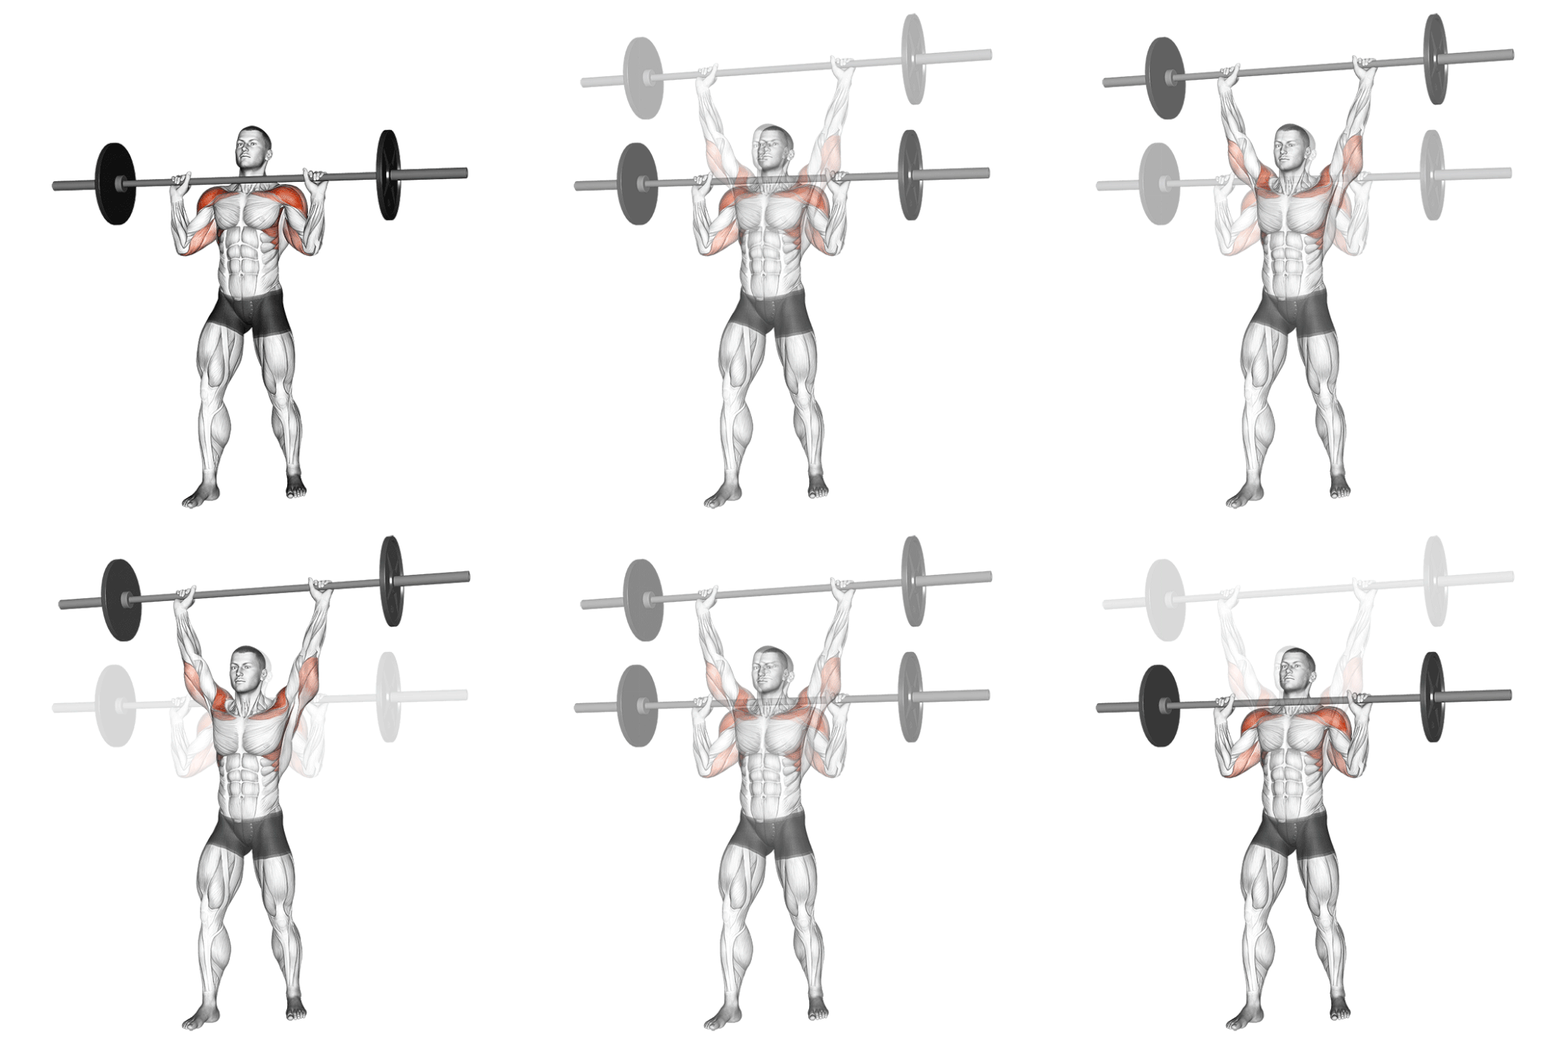
Muscles used in the military press.
Illustration credit © Aliaksandr Makatserchyk
2.Starting Position:
- In the handstand position, your body should form a straight line from your hands to your feet. Your arms should be fully extended, and your head should be in a neutral position, looking slightly forward.
3. Lowering Phase:
- Inhale as you slowly lower your body by bending your elbows, keeping them close to your sides. Your head should move straight down toward the floor or mat, and your shoulders should remain engaged to control the descent.
- Lower until the top of your head gently touches the floor or until your elbows reach a 90-degree angle. Keep your core tight to prevent your lower back from arching.
4. Pushing Phase:
- Exhale as you press your body back up to the starting position by extending your elbows and driving through your hands. Engage your shoulders, triceps, and core to push your body upward.
- Focus on maintaining balance and control throughout the movement, especially if you’re performing the exercise without wall support.
5. Repetition:
- Repeat the lowering and pushing phases for the desired number of repetitions while maintaining proper form and control.
Recommended Reps and Sets
- For Strength: 3-5 sets of 3-6 reps. Focus on explosive power and control, using the wall for support if necessary.
- For Muscle Endurance: 3-4 sets of 8-12 reps. Perform at a controlled pace, ensuring full range of motion and proper technique.
Rest for 2-3 minutes between sets to allow for full recovery, especially if performing low-rep, high-intensity sets.
Pro Tips for Success
- Start with Wall Support: If you’re new to handstand push-ups, practice against a wall to build strength and confidence before attempting freestanding versions.
- Warm-Up Properly: Ensure your shoulders, wrists, and core are adequately warmed up before attempting handstand push-ups to prevent injury.
- Focus on Form: Proper alignment is crucial. Keep your body straight, core tight, and elbows tucked in to maximize muscle engagement and prevent strain on the joints.
- Progress Gradually: If the full handstand push-up is too challenging, start with pike push-ups or negative handstand push-ups (focusing on the lowering phase) to build strength.
Common Mistakes to Avoid
- Arching the Back: An excessive arch in the lower back can strain your spine and reduce the effectiveness of the exercise. Engage your core to maintain a straight body line.
- Flared Elbows: Allowing your elbows to flare out during the movement can place unnecessary stress on your shoulder joints. Keep your elbows close to your body for better alignment and muscle engagement.
- Rushing the Movement: Performing handstand push-ups too quickly can lead to loss of balance and poor form. Focus on controlled, deliberate movements to ensure safety and effectiveness.
- Neglecting the Warm-Up: Skipping the warm-up can increase the risk of injury. Always prepare your shoulders, wrists, and core with mobility exercises and light dynamic stretches before attempting handstand push-ups.
The Handstand Push-Up is a powerful exercise for developing upper body strength, shoulder stability, and core control. By mastering this advanced movement, you can significantly enhance your functional fitness and upper body aesthetics. Whether you’re working against a wall or performing freestanding handstand push-ups, focus on proper form, controlled movements, and gradual progression to achieve the best results.
