Incline Push-up on a Smith Machine
The Incline Push-up on a Smith Machine is a bodyweight exercise that modifies the traditional push-up by placing your hands on a Smith machine bar. This elevation makes the movement easier than a standard push-up, while still targeting the chest, shoulders, and triceps. The incline push-up is ideal for beginners looking to build strength or for those who want to add variety to their workout routine.
This incline reduces the amount of body weight you have to lift, making it easier than a floor push-up. This variation is a great stepping stone for beginners or for those recovering from injuries who need to reduce stress on the chest, shoulders, and wrists. It allows for more control and stability, helping you to work on proper form and gradually increase your strength.
Targeted Muscle Groups

Primary Muscles:
- Pectoralis Major (Chest): The chest muscles are the main focus of this exercise, responsible for the pressing motion.
Secondary Muscles:
- Deltoids (Shoulders): The front deltoids assist the chest in the pressing movement.
- Triceps Brachii: Located at the back of the upper arms, the triceps help extend the elbows during the push-up.
- Core Muscles: The abdominals and lower back muscles engage to stabilize the body and maintain proper alignment during the movement.
Equipment Needed
- Smith Machine: A piece of gym equipment featuring a barbell fixed within steel rails. The adjustable barbell allows you to set the height, making it perfect for incline push-ups.
How to Do Incline Push-ups on a Smith Machine: Step-by-Step Guide
Step 1: Set Up the Bar on the Smith Machine
- Bar Height: Adjust the Smith machine bar to a height that is comfortable for your current strength level. Beginners may start with the bar placed higher, while more advanced exercisers can set it lower for more resistance.

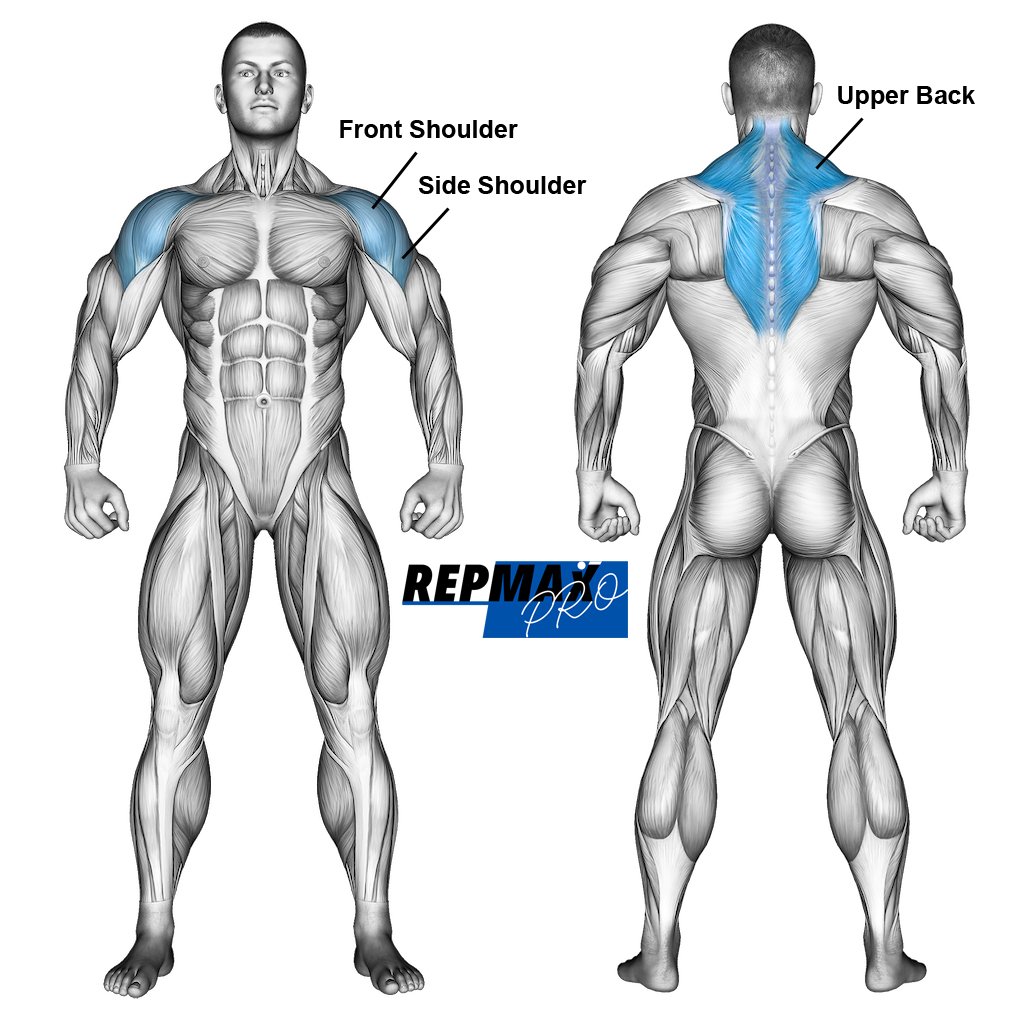
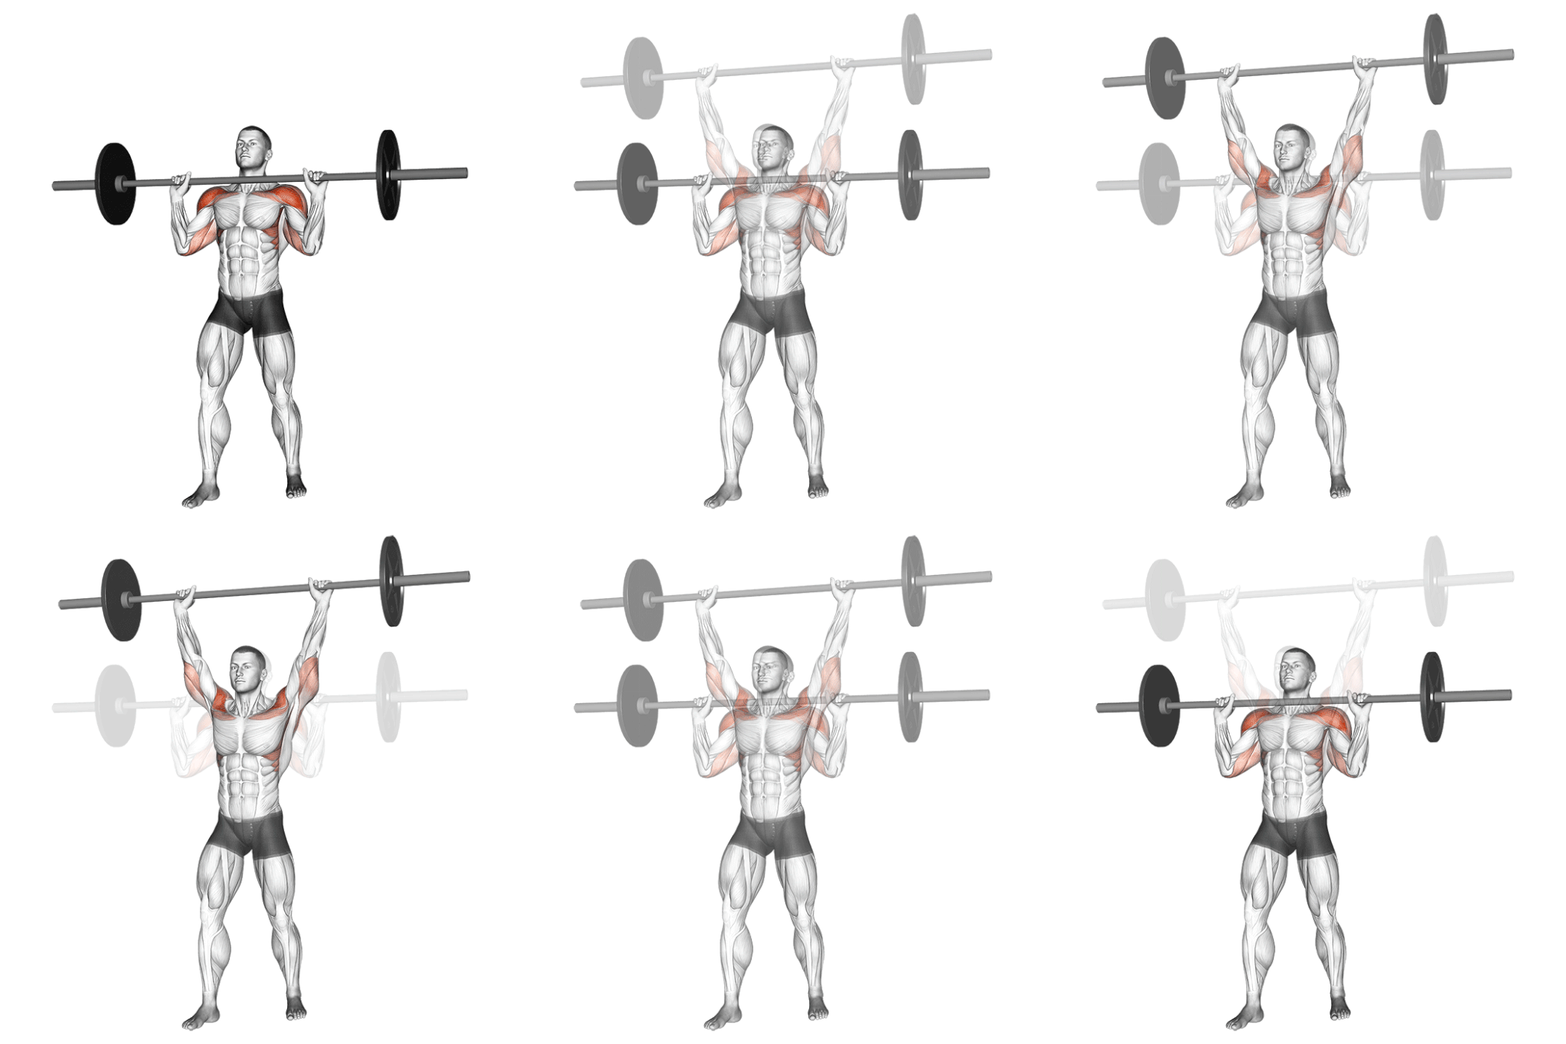
Muscles used in the military press.
Illustration credit © Aliaksandr Makatserchyk
Step 2: Position Your Hands and Body
- Grip the Bar: Place your hands on the bar, slightly wider than shoulder-width apart. Ensure your palms are facing down and your fingers are wrapped securely around the bar.
- Body Alignment: Step your feet back so your body forms a straight line from your head to your heels. Your feet should be together, or slightly apart for better balance. Engage your core to maintain a neutral spine throughout the movement.
Step 3: Lower Your Body
- Lowering Phase: Inhale as you bend your elbows, lowering your chest towards the bar in a slow, controlled motion. Keep your elbows at a 45-degree angle to your body, ensuring you do not flare them out too wide.
Step 4: Press Back to Starting Position
- Pushing Phase: Exhale as you press through your palms, straightening your arms and pushing your body back up to the starting position. Be careful not to lock your elbows at the top of the movement.
Step 5: Repeat
- Perform Repetitions: Continue the push-up motion for the desired number of reps, maintaining proper form throughout.
Recommended Reps and Sets
- Beginners: 2-3 sets of 8-12 reps
- Intermediate: 3-4 sets of 12-15 reps
- Advanced: 4-5 sets of 15-20 reps, lowering the bar to increase resistance
Pro Tips for Success
- Focus on Form: Keeping a straight line from your head to your heels is essential. Avoid arching your back or sagging your hips.
- Control the Descent: A slow and controlled lowering phase engages the muscles more effectively and ensures you maintain proper form.
- Adjust the Bar Height: Start with a higher bar if you’re new to the movement, and gradually lower it as you build strength. The lower the bar, the more challenging the exercise becomes.
- Engage Your Core: Keep your core tight throughout the exercise. This will not only stabilize your body but also enhance your posture and prevent lower back strain.
- Breathe Correctly: Inhale as you lower your body and exhale as you push up. Proper breathing helps you maintain a rhythm and reduces fatigue.
Common Mistakes to Avoid
- Flaring the Elbows: Keep your elbows at a 45-degree angle to your body. Flaring them out too wide places unnecessary strain on the shoulders and reduces chest activation.
- Sagging Hips: One of the most common mistakes is letting the hips sag towards the ground, which compromises the form and puts stress on the lower back. Engage your core to keep your body in alignment.
- Arching the Back: Avoid arching your back, as this indicates that your core is not engaged. Focus on maintaining a straight posture throughout the movement.
- Rushing the Movement: Performing the exercise too quickly reduces the time under tension for your muscles, limiting the effectiveness of the exercise. Use controlled motions for maximum muscle engagement.
The Incline Push-up on a Smith Machine is an excellent push-up variation that can benefit beginners, those looking to improve form, or individuals recovering from injuries. This exercise targets the chest, shoulders, and triceps while engaging the core for stabilization. By adjusting the height of the bar, you can control the difficulty, making it a versatile exercise that grows with your fitness level.
Focus on maintaining proper form, engaging your core, and using controlled movements for the best results. Avoid common mistakes like flaring the elbows or sagging the hips to ensure you get the most out of this effective upper-body exercise. Incorporating incline push-ups into your routine will help you build strength and develop a solid foundation for more challenging push-up variations.
